Generate Dynamic Open Graph Images in Astro (and Beyond)
Create dynamic Open Graph images in Astro using Satori
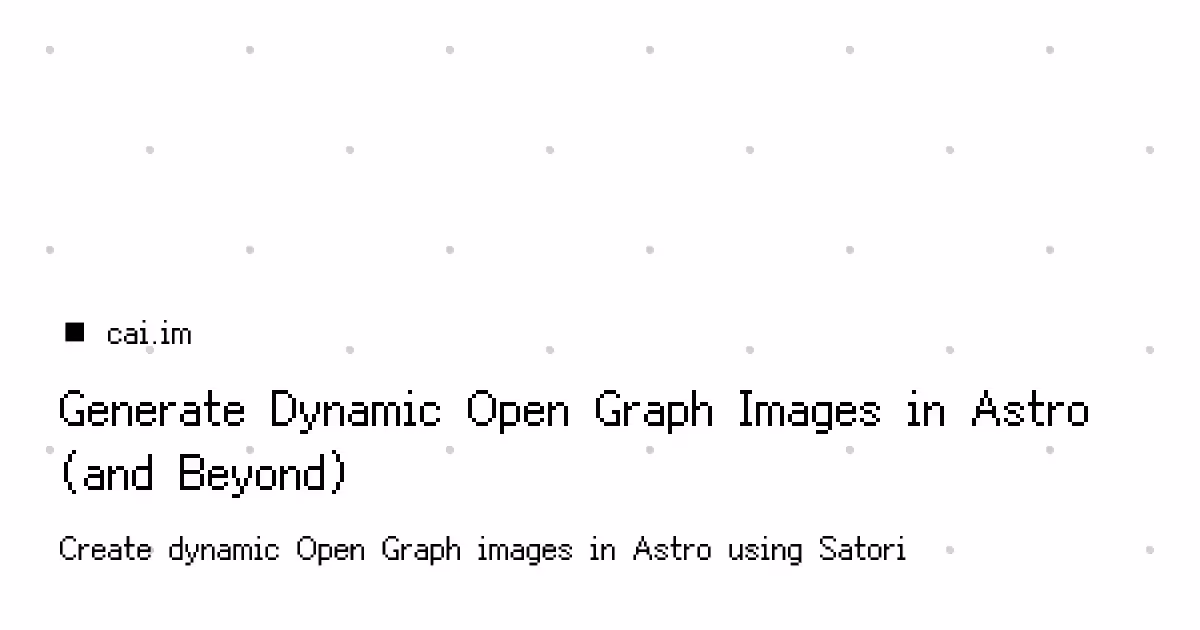
When sharing links on social media, most platforms use Open Graph (OG) metadata to generate a link preview. The most common metadata includes the title, description, and, crucially, an image.
While many of my blog posts feature an existing image that could serve as the OG image, sometimes a standalone image isn't descriptive enough. I often want to embed the post's title and description directly onto the image itself. This makes the preview far more visible and informative, especially on platforms like Twitter, where the image dominates the preview card.
This kind of dynamic image generation wasn't easy to achieve with Hugo, which previously powered this site. However, after switching to Astro, I discovered a powerful way to generate these dynamic Open Graph images using Satori.
Satori is a fantastic library that can convert HTML and CSS into SVG. In our case, we don't need an SVG directly, but a standard image file like .webp. That's where Sharp comes in, helping us convert the SVG generated by Satori into a .webp image.
Using Satori is easier because the image's layout and styling are defined using HTML and CSS Flexbox. This approach is much more intuitive and user-friendly, as we don't have to struggle with the complexities of absolute positioning.
Implementation
I'll use Astro as our example, but the core principles apply to any framework that supports server-side rendering (SSR) and can access Node.js libraries. This includes frameworks like Next.js, which makes sense given Satori is developed by Vercel.
First, let's install the necessary dependencies:
pnpm install satori sharp reactReact is installed to provide JSX support, which is used by Satori to define the image templates.
Next, we'll create a new API route in Astro to handle the generation of our Open Graph images. I've placed mine at src/pages/blog/[...slug]/index.webp.ts. This file will be responsible for both defining the GET handler to generate the image for a specific post and using getStaticPaths to tell Astro how to build all the necessary image paths for your blog posts.
A few key points about the setup:
- Image Embeddings: Images are converted to base64 format. This allows us to embed them directly into the SVG output, as recommended by Satori.
- Custom Fonts: You'll need to include a custom font for your image. I've used TakWolf/fusion-pixel-font because it's compact and supports Chinese characters, which is perfect for my needs (I don't want to add a large font file in my GitHub repository). You can use any font you like, but ensure it's in a format that Satori supports (like
WOFF). - Prerendering: The
export const prerender = true;line is crucial. It instructs Astro to prerender (generate) all these OG images at build time. This is especially important because some edge runtimes, like Cloudflare Workers, don't fully support the sharp library. By generating the images during the build, you ensure they're ready to serve without runtime dependencies, and since they won't change post-build, dynamic generation isn't necessary.
Let's look at the index.webp.ts file:
import satori from "satori";
import sharp from "sharp";
import type { APIRoute } from "astro";
import logoSVG from "./_logo.svg?raw";
import { getCollection } from "astro:content";
import template from "./_image";

const WIDTH = 600;
const HEIGHT = 315;

const whiteLogo = await sharp(Buffer.from(logoSVG), { density: 144 })
    .png()
    .toBuffer();

const base64Logo = `data:image/png;base64, ${whiteLogo.toString("base64")}`;

import ChineseFont from "./_fonts/fusion-pixel-12px-proportional-zh_hans.woff";
const chineseFont = Buffer.from(ChineseFont);

interface Data {
    title: string;
    description?: string;
    image?: string;
}

async function getRemoteImage(url: string): Promise<Buffer> {
    const response = await fetch(url);

    if (!response.ok) {
        throw new Error(`Failed to fetch image: ${response.statusText}`);
    }

    const imageBuffer = await response.arrayBuffer();
    const buffer = Buffer.from(imageBuffer);

    return buffer;
}

export const GET: APIRoute = async function get({ props }) {
    const { title, description, image } = props.data as Data;
    let imageBase64 = "";

    if (image) {
        const imageBuffer = await getRemoteImage(image);

        // Resize the image to twice the dimensions for better quality when rendered
        const resizedImage = await sharp(imageBuffer)
            .resize({
                width: WIDTH * 2,
                height: HEIGHT * 2,
            })
            .jpeg()
            .toBuffer();

        imageBase64 = `data:image/jpeg;base64, ${resizedImage.toString("base64")}`;
    }

    // Generate the SVG content using Satori and our React template
    const svg = await satori(
        template(
            base64Logo,
            title,
            description,
            imageBase64,
        ),
        {
            width: WIDTH,
            height: HEIGHT,
            fonts: [
                {
                    name: "FusionPixel",
                    weight: 400,
                    style: "normal",
                    data: chineseFont,
                },
                {
                    name: "FusionPixel",
                    weight: 700,
                    style: "normal",
                    data: chineseFont,
                },
            ],
        },
    );

    // Convert the generated SVG to a WEBP image using Sharp
    const webp = await sharp(Buffer.from(svg), {
        density: 144,   // Maintain high density for the SVG to WEBP conversion
    })
        .webp()
        .toBuffer();

    return new Response(new Uint8Array(webp));
};

export async function getStaticPaths() {
    const posts = await getCollection("blog", ({ data }) => {
        // Only generate for published posts, or drafts if in development mode
        return data.draft !== true || import.meta.env.DEV;
    });

    return posts.map((post) => ({
        params: { slug: post.id },
        props: post,
    }));
}

export const prerender = true;
Now, the template function is where we actually build the HTML structure and style for our Open Graph image using a React component. I've based this on Satori's official examples, and combined it with Tailwind CSS for styling. The template is defined in a separate file, src/pages/blog/[...slug]/_image.tsx:
// @ts-nocheck
import React from 'react';

const template = (logo: string, title: string, description?: string, image?: string) => {
    return (
        <div style={{
            height: '100%',
            width: '100%',
            display: 'flex',
            justifyContent: "space-between",
            position: "relative",
            backgroundColor: "#fff",
            backgroundImage: !image ? `radial-gradient(circle at 25px 25px, lightgray 2%, transparent 0%), radial-gradient(circle at 75px 75px, lightgray 2%, transparent 0%)` : "",
            backgroundSize: !image ? '100px 100px' : "",
            color: image ? "#fff" : "#000",
            fontFamily: 'FusionPixel'
        }}>
            {image && (
                <img src={image} style={{
                    width: "100%",
                    height: "100%",
                    objectFit: "cover",
                    objectPosition: "center",
                    position: "absolute",
                    top: 0,
                    left: 0,
                }} />
            )}
            <div tw="flex flex-col flex-1 justify-end h-full" style={{
                padding: "30px",
            }}>
                <div tw="flex flex-col" style={{
                    gap: "10px",
                }}>
                    <span tw="font-700" lang="en">◾ cai.im</span>
                    <span tw="text-2xl" lang="zh-CN">{title}</span>
                    {description && (<span>{description}</span>)}
                </div>
            </div>
        </div>
    );
}

export default template;
Now that our OG images are being generated for each blog post at a path like /blog/[...slug]/index.webp, the last step is to add those Open Graph metadata tags into the <head> section. You'll usually do this in a shared layout component, like src/layouts/BaseLayout.astro. I do this in my src/components/BaseHead.astro component:
<meta property="og:image" content={imageUrl} />
<meta property="twitter:image" content={imageUrl} />